Demo
This is a quick Demo for using the website interface of SemlogWeb.
In this demo we would show how to successfully search the image database with the website and train a food classifier.
Prerequisite
You should first go through all the steps from Installation Guide and Quick Start to make sure SemlogWeb is successfully deployed in your PC.
Right now you should have two terminal running for Django and MongoDB server.
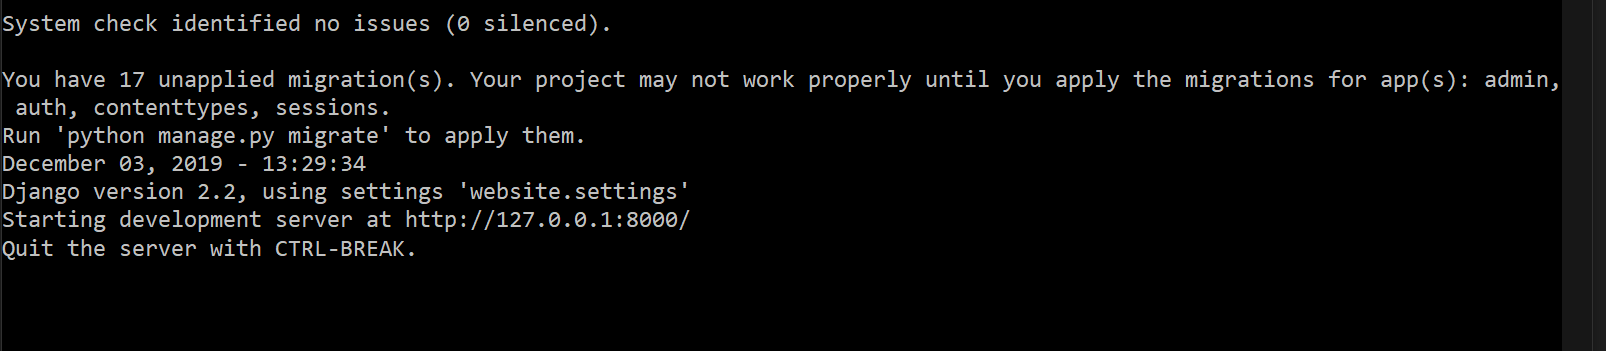
Successful terminal state after run python manage.py runserver

Successful terminal state after run mongod
Use the website
After you click the Connect button on the main page, you should be able to view the search engine of SemLogWeb.
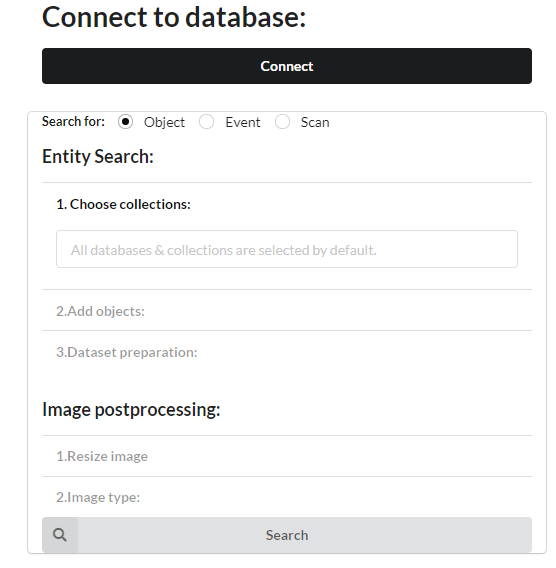
A screen shot for the search engine
1. Choose collections
Although we can leave this input field blank to search for all available collections, in order to speed up the process, we would only search for one collection.
For example Food.f_in_drawers_1.
2. Add objects
Add two class names to search for all images containing at least one of these class objects.
For example MPWatermelon and MPBreadPizza.
3. Dataset preparation
Right now in this library we support two kinds of datasets.
The first is full images with coordinates of bounding boxes, which can be used to train object detection algorithms such as SSD, YOLO, or Mask-RCNN.
The second is cropped objects based on our inputs. We use such dataset to train our image classifier.
Click Multiclass Classifier.
Image postprocessing
After target objects and dataset types are selected, we can choose to customize the image resolution and image types that are needed.
After objects are cropped from the original image, the resolutions of all cropped images are varying. By applying image postprocessing, we make sure all images are convert to the size resolution for further training.
1. Resize image
For this demo, input 80 for width and 80 for height to stretch all cropped images to share the same resolution.
2. Image type
Two mandatory types are RGB and Mask. You can also select more types for other purposes. SemloWeb will automatically arrange the display layout.
Click the Search button to start query and create the dataset.
Options after searching
You can select different options for using our datasets. After the server finished searching, you can click three buttons.
Download
If you only need the dataset and want to do other processing by yourself, you can click Download button to retrieve the full dataset from the server.
View
You can click View to view the result images on the website conveniently.
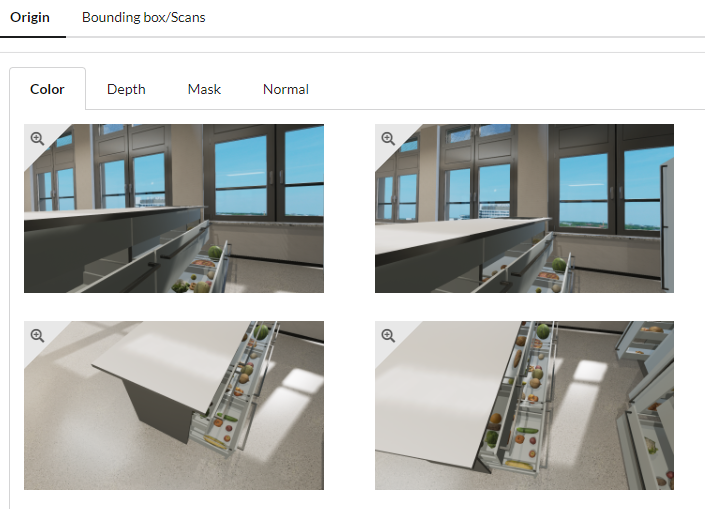
A screen shot for the result images
Click the image to view the 3D point cloud as long as you selected Depth image type before. Click the little label on top left to view the image in original resolution.
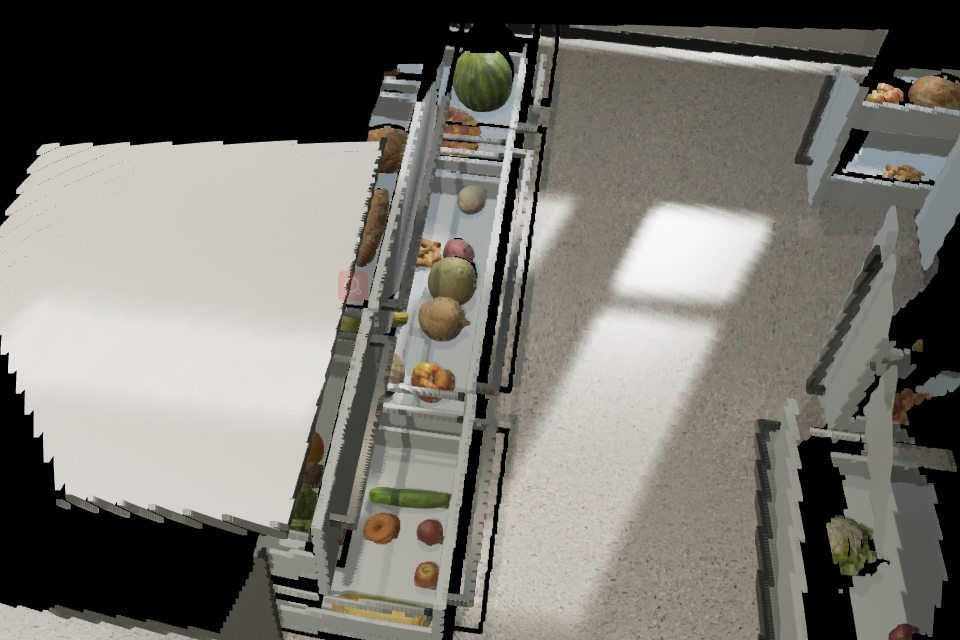
A screen shot for the point cloud
Click Bounding box/Scans to view cropped images.
Train
In order to monitor relevant metrics during the training stage, we have embedded the website with Visdom.
Open a new terminal, enter
visdom
to run the visdom server.
All preparations are finished right now. Click Train and visit localhost:8097 to check the training process!
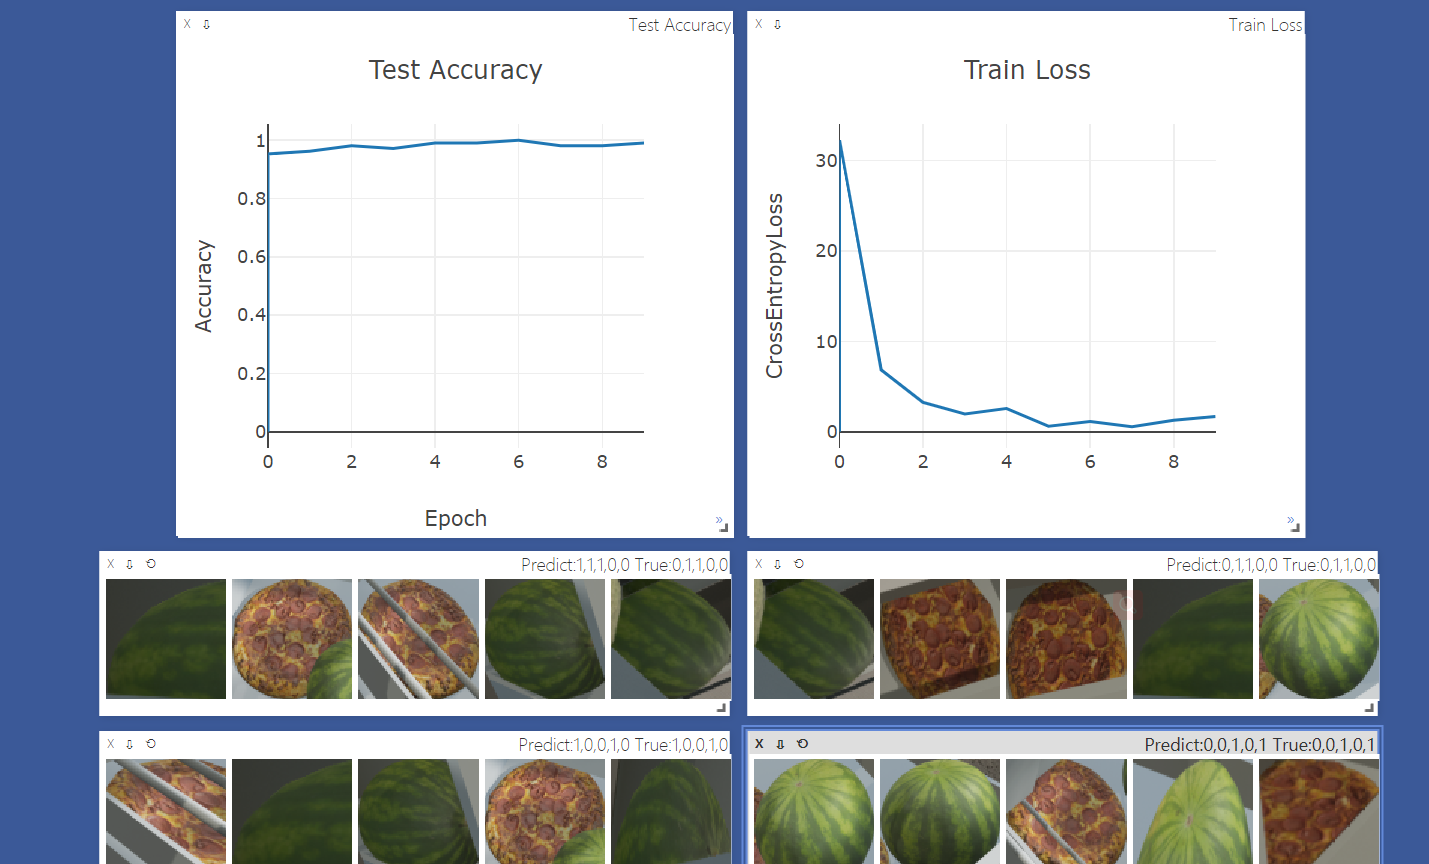
A screen shot for Visdom visualization